
Food Devils Combat Tactics Guide
Master Rules, Calories, Hunger, positioning, and Skill Pack pivots on every map.
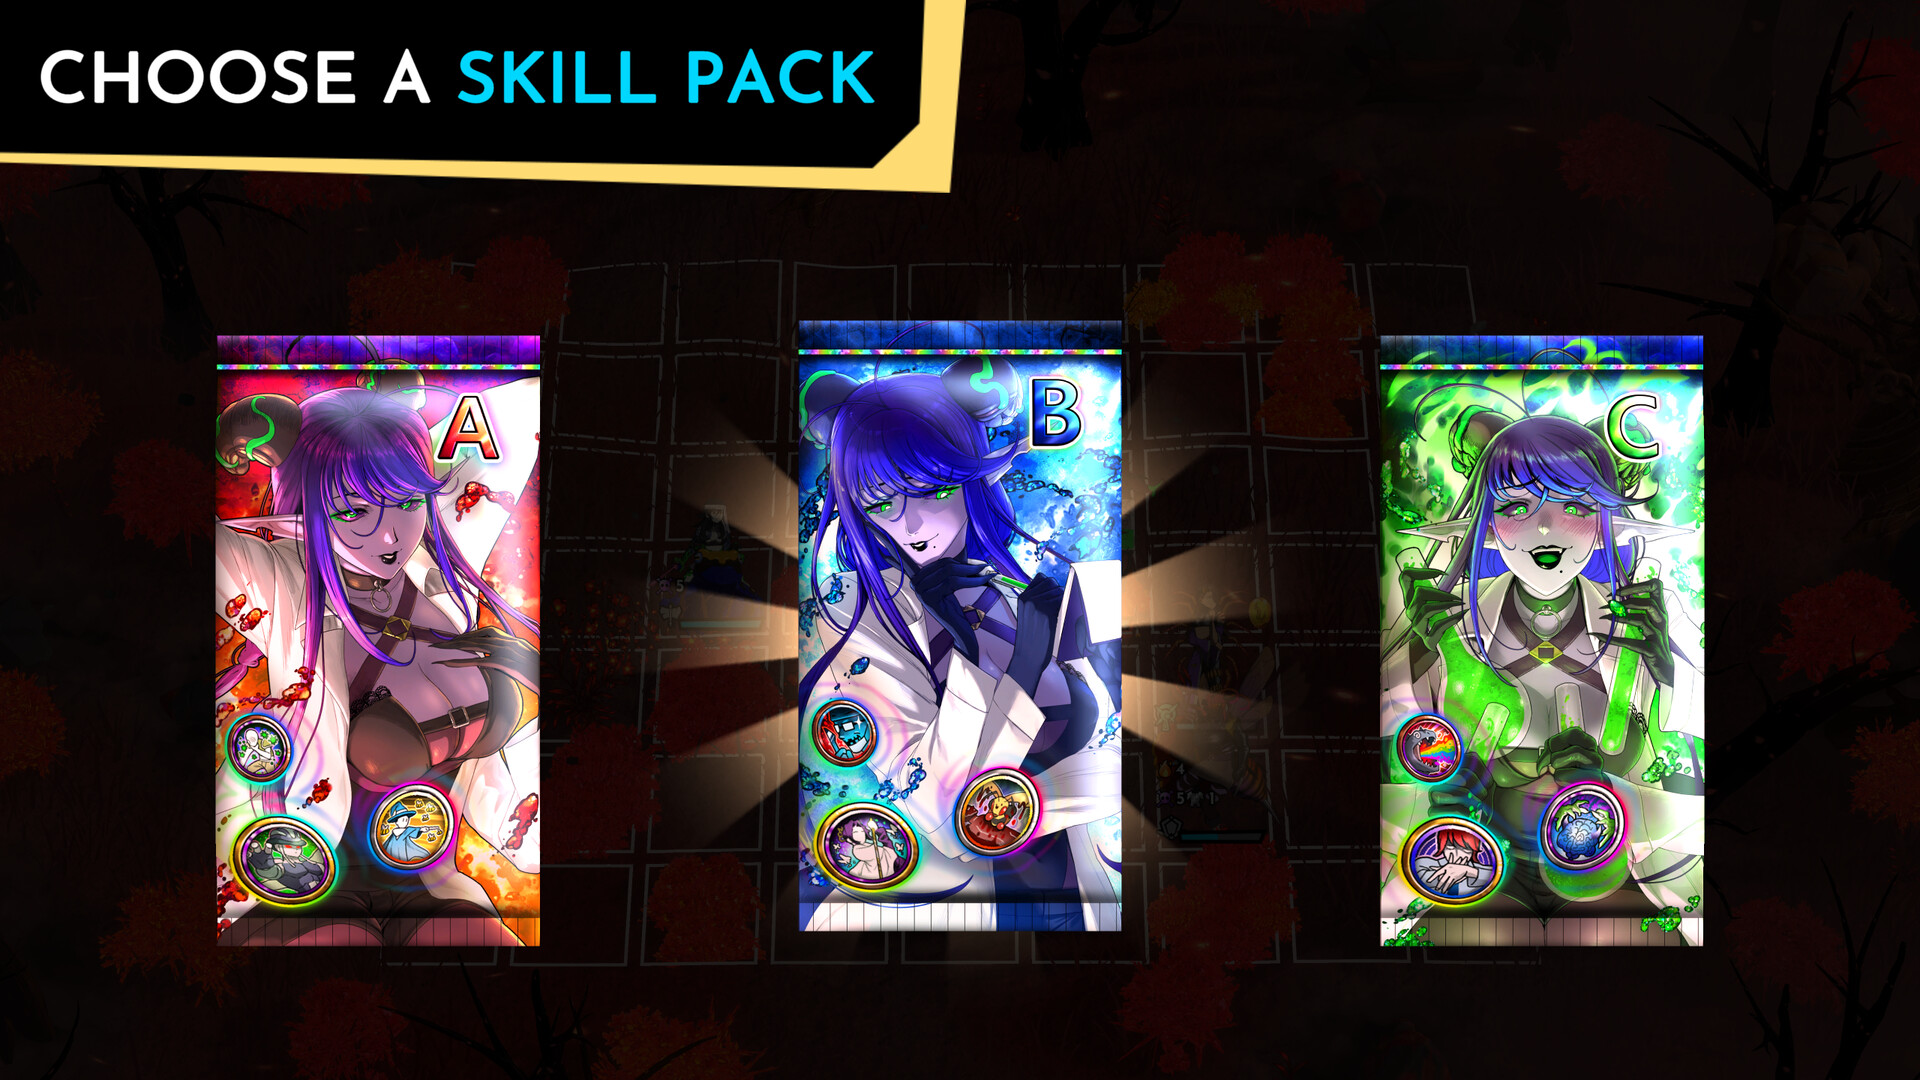
Combat in Food Devils is a turn-based tactics grid wrapped in roguelite variance. You always bring one Food Devil and up to four human adventurers, then solve objectives that refuse to be solved by mindlessly dumping Devil ultimates. This guide expands the day-one ideas from Getting Started into practical board theory: positioning, Calories versus Hunger, Master Rules, Skill Packs, class jobs, Bonfire tiles, status stacks, and the exact moments when spending Devil power is smarter than squeezing another Calorie from a fragile ally.
Read the objective before the threat map
Every encounter has a win condition. Gather resources, defend against a surge, escape a closing board, or hunt targets across multiple zones. The Devil’s raw stats make “kill the nearest enemy” feel correct, but objectives punish tunnel vision. Scan the victory text, mark the tiles that matter, then place humans where they can both survive and generate Calories under the active Master Rule.
Purple enemy range previews highlight every tile an enemy can act upon—trust them. If a human must stand in a dangerous square to create Calories, plan a heal, Armor grant, or reposition on the same turn cycle. Leaving a Hungry unit on a contested tile is how permanent deaths sneak into otherwise winning maps.
Positioning fundamentals
Treat the grid like a classic SRPG:
- Choke points belong to Shielders and contracted tanks, not to the Devil alone.
- Diagonal and flanking angles matter for skill shapes; measure before you commit movement.
- Empty tiles are not wasted—clicking one opens the encounter context menu (or press ESC) so you can reach the Glossary mid-fight without losing your plan.
- Movement types differ across Beast, Infantry, and other tags. Hunter’s Beast-leaning fantasy and Poison’s Infantry lean change how you contest terrain even when both captains look “strong.”
Keep the Devil one step behind the front line until Calories are banked. A starved Devil is a tall paperweight. A fed Devil who walks into three enemy ranges without backup still dies—slowly, expensively, and after you have already burned human Hunger.
Calories, Hunger, and the tension that defines Food Devils
Devils need Calories for their strongest actions. Humans generate Calories by fulfilling the expedition’s Master Rule. Each Calorie also applies 1 Hunger to the generator. Too much Hunger can permanently kill that adventurer. The combat preview may display an “X” instead of revealing whether a survival effect will trigger when a Hungry unit faces lethal damage. Play around that fog: assume Hungry units are mortal.
Practical economy rules:
- Bank Calories before the spike turn you actually need.
- Rotate which human generates Calories so one unit does not absorb every stack.
- Stop generating when the next Calorie would push a key support into death range—spend the Devil instead.
- If the board is already won, stop farming Calories for vanity damage.
Humans are not battery packs. With the right Skill Packs they carry fights alone. The fantasy is risk management: how hard do you squeeze mortals to empower a capricious Devil?
Master Rules reshape the whole expedition
At run start you choose a Master Rule that defines Calorie generation for every map in that expedition. Example: Bonfire Bonanza (associated with Hunter play) awards Calories when adventurers end turns beside Bonfire tiles. Suddenly a Warrior who can create Bonfires is a resource engine, not only a damage stick. Other rules may demand exploding summons or stranger board interactions.
Pick the rule that matches:
- Your Devil’s contract kit.
- The Skill Packs you expect from early nodes.
- The class mix waiting in the restaurant that day.
The same Shielder can grant Armor and shove enemies in one expedition, then summon Bombees and support poisoned allies in another. Master Rules are why Food Devils replays feel like different games with the same roster labels. Compare captain strengths on the Tier List Hub and Players Hub after you understand which rules you enjoy.
Skill Packs, 250+ skills, and role mutation
Early Access already ships a deep skill pool (200+ officially discussed, with the broader design aiming past 250). Skill Packs drop through the roguelite route and carry rarity tiers plus role labels that explain what a pack generally does. Open them, read the labels, and equip with intent.
Skill Packs can:
- Turn a Healer into a defensive wall or debuff battery.
- Push a Mage into infantry-style packing or Poison synergies.
- Reward Sweet, Sour, or Salty Flavor Triangle angles depending on Dessert, Poison, or Hunter lineups.
Codex Clauses add team-wide buffs for the rest of the run. Prefer clauses that amplify your Master Rule over generic damage pads. Merchant nodes and events are where you deliberately hunt missing pieces—do not auto-buy every shiny uncommon.
Classes on the human side
Warrior — Front damage and, under Hunter contracts, Bonfire creation that feeds Calorie rules. Shielder — Armor, displacement, and board control; the forgiveness class for new players. Mage — Reach and status; pairs naturally with Poison’s Sour/Infantry fantasy. Healer — Sustain and clutch saves; Skill Packs can make them surprisingly selfish tanks.
Devil Contracts rewrite mobility and skills on top of these bases. Always re-read the contract card when you change captains between runs.
Bonfire tiles and environmental play
Bonfires are more than scenery when your Master Rule cares about them. Units that plant or refresh Bonfires become economy pieces. Ending movement adjacent to a Bonfire can be worth more than a medium attack if it funds a Devil turn that deletes an elite. Conversely, if your rule ignores Bonfires, do not waste actions landscaping the map.
Watch status stack colors in the combat preview. Poison, Armor, Hunger, and flavor-linked effects stack visually—those colors exist so you stop guessing mid-animation.
When to spend Devil power
Spend the Devil when:
- An objective timer will fail without a breakthrough.
- Two or more humans would need lethal Hunger to create the same swing.
- A pack of enemies sits inside a Devil skill shape that humans cannot match this turn.
- A key support is one Hunger away from permanent death and you still need board control.
Hold the Devil when:
- Humans can clear the objective safely with existing Calories.
- You are baiting AI into a kill zone next turn.
- The next node is a boss-like spike and your bank is empty.
Status effects, Flavor Triangle, and clean decisions
The Flavor Triangle (Salty, Sour, Sweet, and related interactions) influences skill relationships and Devil identity. Hunter leans Salty, Poison leans Sour, Dessert leans Sweet. You do not need every interaction memorized on day one—open the Glossary—but you should notice when a pack explicitly boosts a flavor you already built around.
Status play is about sequencing. Apply the debuff that makes the next Calorie safer, not the debuff that looks rare. If a lethal preview shows “X” on a Hungry ally, reposition or spend Devil tools before greedily attacking.
Expedition hygiene between fights
After each node, ask three questions: Did Hunger distribute evenly? Did Skill Packs still match the Master Rule? Do we still have a plan for the next objective type? Rest nodes and merchants are for correcting answers, not for tourism. Cooked dish buffs from the restaurant layer—covered in Cooking and Recipes—should already be active before you embark; do not expect mid-expedition cooking to save a bad start.
Restaurant furniture and kitchen upgrades change which humans appear for the next outing; see Restaurant Management. Relationship unlocks can open extra combat options over time via Romance and Relationships, but they never replace board literacy.
Practice loop that actually improves you
- Clear relevant Training Grounds outside the restaurant.
- Run one expedition dedicated to a single Master Rule.
- Note every permanent death and whether it came from Hunger greed or bad positioning.
- Adjust Skill Pack priorities and furniture before the next attempt.
- Only then climb difficulty or chase romance-gated tools.
Food Devils combat clicks when you stop treating the Devil as a free win button and start treating Calories as a budget with human lives as interest payments. Master that, and Ashen Forest clears—and later biomes like the planned Fungal Abyss—become puzzles you solve instead of coin flips you endure. Return to the Guides Hub whenever a new patch adds rules, packs, or captains that shift the economy again.
Frequently Asked Questions
Quick answers to the most common questions.
What is the fastest way to learn Food Devils combat?
Finish Training Grounds, keep the Glossary open via ESC, then run short expeditions focused on one Master Rule. Start from Getting Started if the loop is still fuzzy.
Why did my adventurer die even though the Devil was healthy?
Calories come from humans and apply Hunger. Too much Hunger can permanently kill adventurers. Spend Devil power earlier instead of farming more Calories.
How should I choose a Master Rule?
Pick the rule that matches your Devil Contract and Skill Pack plan—for example Bonfire rules with Hunter tools—then reinforce it at merchants.
Do Skill Packs really change class roles?
Yes. Packs and contracts can turn Healers into tanks or push Warriors into Bonfire economies. Compare captains afterward on the Tier List Hub.
Where do restaurant buffs fit into combat prep?
Cook dishes and set furniture before you leave. Details are in Cooking and Recipes and Restaurant Management.